RPSL’s, GSL’s, Girder Logs
For the un-initiated, RPSL’s are Ridge Pole Support Logs. They are the vertical logs that hold up the ridge pole; while the ridge pole is the log that holds up the roof- it’s the highest log in the whole house, and according to Skip (founder of LHBA), it should be the longest, straightest, most righteous log you have.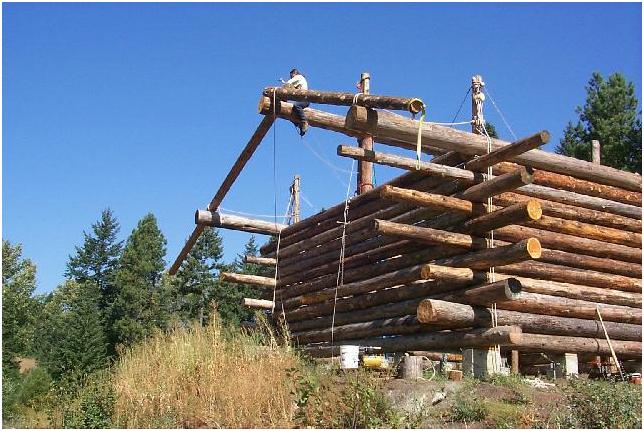
The girder log could go in now or later. If we do it now, we can use crooked wall logs that we cut and leave a space for the girder log. If we do it later, we can use the wall logs to attach our block and tackle, and lift the girder log wherever we want. Along with the girder log would be the GSL support log- the vertical log that supports the GSL.
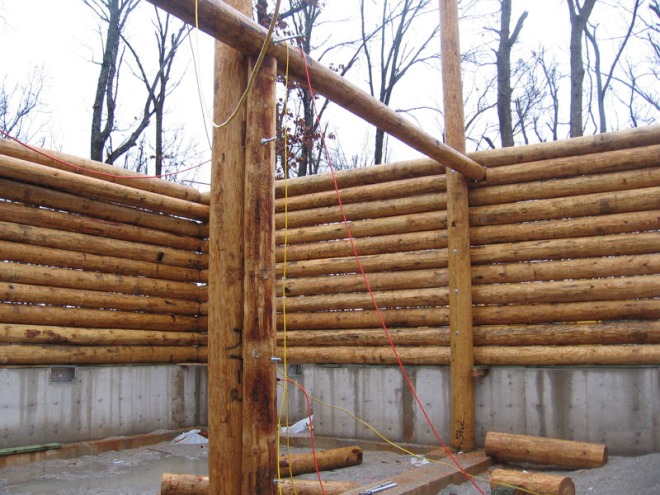
For now, we’ve decided to keep going with the wall logs. We are on course seven now, and it is only for logs that will not be cut in the middle somewhere- there are no doors or windows at this point in the build like there were up until now.
Getting new logs, protecting the existing logs
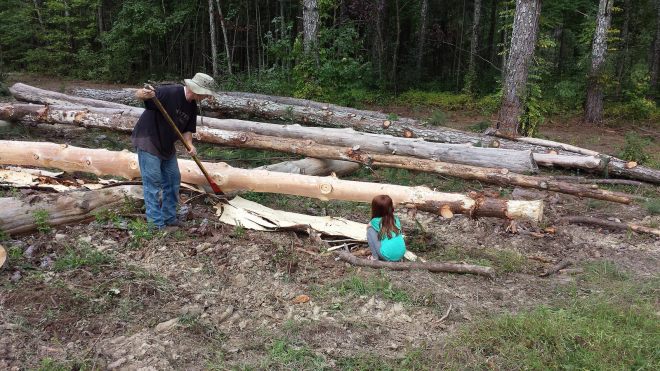
Julie has been managing which logs go where- she measures the circumference of the existing logs, and finds the next biggest log for the next layer. We started with logs that were nearly six feet around, but now we are down to logs that are just over five feet around. We have a few on our property that needed to be cut down anyway because the eventual plan is to have a large garden and we need the sunlight.Also, they need to be peeled, which is a lot of work.

All of which brings up an incident this week that stopped everything: we broke a log.
Breaking a log
Julie picked out a log from rack #1. I went and hooked up to it and started pulling it out of the pile when it broke- I broke off about ten feet of it. It just snapped. I was shocked- this has never happened before. It’s a log that I think is at least six months old that hadn’t been borated. I’ve been thinking for a while that it is time to borate my logs again, and this was the perfect time to do it. I brewed up a new batch- three batches, actually. I have 7 gallons of the stuff, which is enough to treat 42 logs. I probably need more, but this is a good start. I sprayed every log on the house first, and next week I’ll move on to the racked logs. Need to finish peeling the new ones before I treat them.
Fixing the truck
My new truck is a 1979 Ford F150 4×4 with a manual transmission and a 351M motor. I love how it feels. My wife isn’t so sure. I wanted something more “EMP proof”, and this is what feels right. I knew the clutch needed replacement when I bought it- it slipped when in gear and under a load. It either had to be the clutch disk was worn out, or it was fouled with oil from a leaky rear main seal. Either way, I had to open it up to find out. I put it up on ramps (probably didn’t need to since it is already a “high-boy”) on a Saturday and started disconnecting things. The next Monday, a city inspector showed up and told Julie “you can’t work on a vehicle in your driveway.” REALLY? They actually made a law about that. While I understand trying to keep the neighborhood looking nice, city folks have some really dumb ways of controlling everyone. Somebody called us in. We have a sneaking suspicion who it was- we asked our neighbor about it and he said he suspects the same person got him, too- he got called in last year for leaving his trash can out on the curb for more than two days. Someone with nothing better to do with their time. It’s a little ridiculous. Can’t wait to get out of the city.Anyway, had some real issues with the truck- couldn’t get the transmission to go back in. After a week of trying different things, I finally called my buddy over- he came on a Saturday.
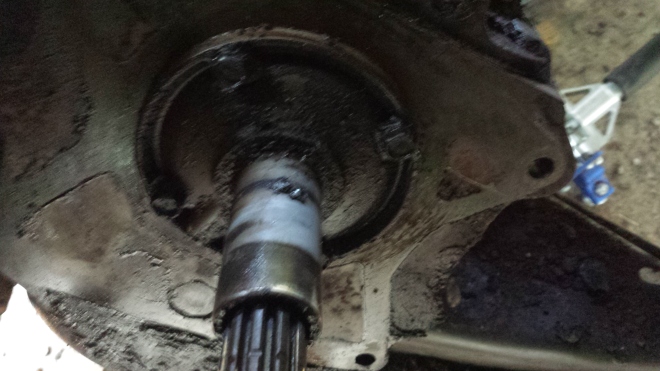
He took one look at the set up, and said everything I was doing looked right, and then he asked, “Is the tranny in gear?”
“In gear? No, the book said take it out of gear to remove it.”
He laughed and said, “yeah, but with these old trucks- any old vehicle, really- you need it IN gear to re-install it. See, they used to use really big splines on the tranny- you’ve got everything lined up right, you just need to turn the drive shaft while you’re pushing the transmission into place. If you don’t do that, the splines will never line up.”
“….And I’ll be sitting here for a week trying to figure out why it won’t go in,” I finished.
“yup.” He got the stick for the transmission and plugged it in and found second gear, then he said, “you crawl underneath and turn the drive shaft, and I’ll sit up here and push.”
I turned the drive shaft, and the whole thing jumped forward into place within 30 seconds. I spent the rest of the day installing u-joints, brackets, shafts, the seat, and all the covers and electrical, got it down off the ramps, and started her up- perfect!
No comments:
Post a Comment