
Refresher on the need for a sawmill...
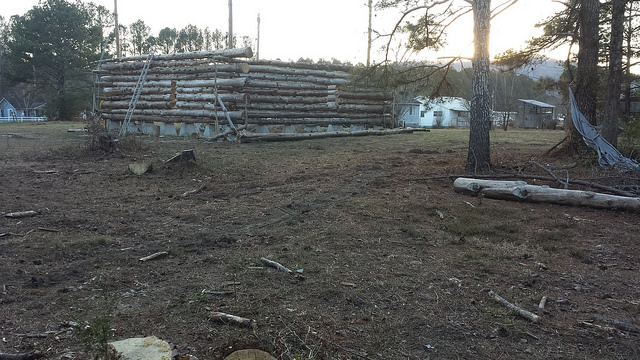
In the LHBA class, they recommend building a 25x25 cabin before attempting anything bigger. Actually, they recommend building a garage first, and then the house. But I didn't want to wait, so we started with a 40x40- the biggest cabin LHBA makes plans for. There are multiple reasons they don't recommend starting with the 40x40:- Permit headaches: For a 40x40 home, you'll need a minimum of 44' logs (2' of overhang on each end). Transporting of logs commercially that are 44' can be a headache when 53' is the max length (including the truck) most highways allow. It's problematic for the driver- and they'll pass that cost on to you.
- Ridge pole needs to be at least 5' longer on each end (50' minimum), and 17" average diameter, with little to no taper. This means this log will probably weigh around 7,000 lbs- 1 ton more than my heaviest log.
- More materials equals more headaches, more work, more cost, more time, more skill, etc.
- The reason for this post: rafters.

- Rafters span half the house, or 20' horizontal "run".
- 6/12 pitch for roof means they "rise" half of the "run" (20'), so that's 10'
- Put on your math hat (sorry, can't help it, former math teacher): Pythagorean theorem shows: 10² + 20² = 100+400=500. Square root of 500 is the hypotenuse, or the length of the rafter, or 22.4', plus some overhang.
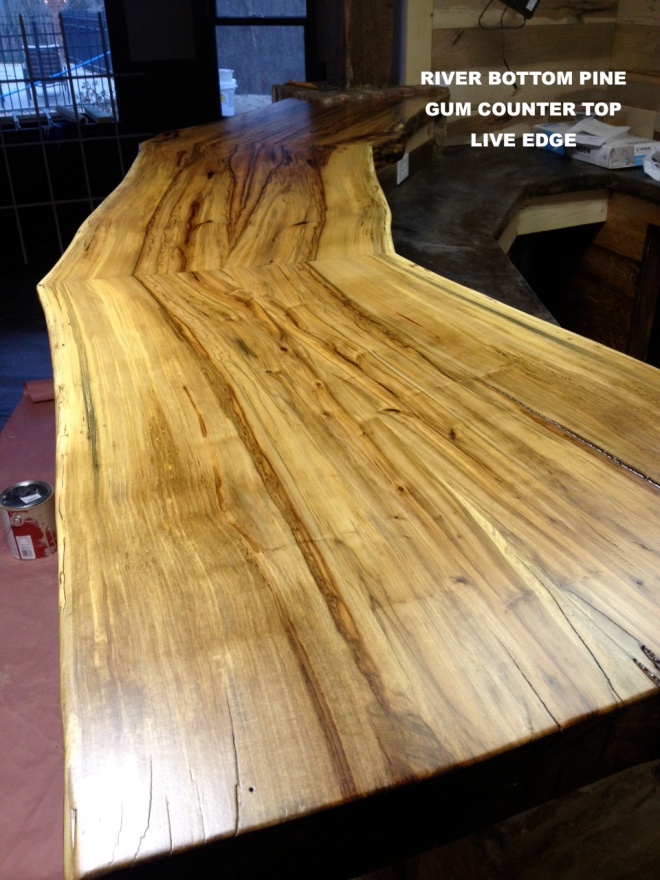
- The plans say use 4x10's, 26 feet long.
- Home Depot and other places- it's a special order for a 4x12 beam over 16', and they want around $300 per beam. I need 32 - $9,600! Wow!
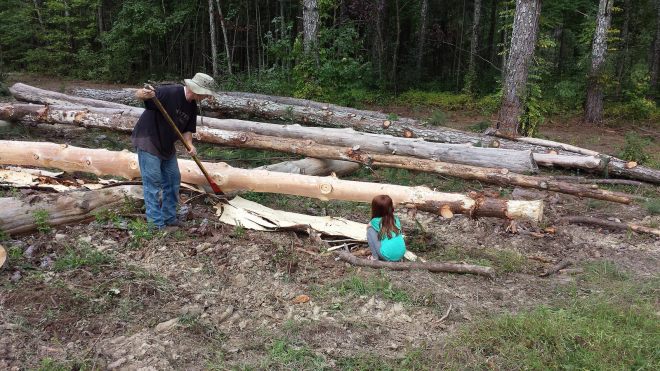
- I have tons of trees and access to more- I could cut my own rafters and save about $7,000....
I bought a sawmill from a fellow LHBA member for very cheap- let's say less than half of a new one- yes it was a great deal- "Thanks, Allen". It's a Hudson Oscar 121, with a 21" capacity. But it had two problems:
- It only came with 12' of track
- Came with no log dogs.
Collecting information and materials
I checked with Hudson- they wanted about $100 each for their log dogs. I felt sure I could make my own. I looked online- and there are thousands of styles- using all thread, chains, even hydraulic set ups. I just wanted something simple. And I needed steel track- 2"x2"x1/4" angle steel and cross beams for stability. Total length of track to add to the 12' I already had would be 18'. I designed two tracks that were 10' and 8' each, and will bolt them together for use.Getting started
With my plans in place, I called my friends at C&J Welding- Mr. Williams loves what I'm doing, and he also lives in the town I'm building in, so I always show him pictures of my progress. The guys at the shop are really knowledgeable on steel, and I take their recommendations. I bought a bunch of steel and some round bar and square tubing for the log dogs and delivered it to the neighbor's garage.
 A little snag that I thought was a big snag
I cut out all the pieces and got the track all welded. I was about to start on the log dogs when the neighbor came out. This is the guy that taught me to weld, and lets me use his welder and shop. I take him seriously because he has great ideas.Side story: he bought some land on top of a mountain with no road going to it. His son told me he built his own road grader out of an old combine that he turned around backwards and put a plow on it. Cool stuff.
Anyway, he comes over and looks at the log dogs I built for the existing track- now, I've already used the log dogs and track to cut a 7"x7"x 10' beam, and it worked out pretty well- just a little rounded on the edges, but I thought that was due to my blade not being tight enough.
 |
| My log dog, almost complete |
Me: "Ummm....They should- I already cut this beam with them and they work fine."
Him: "No, let me show you a better way."
He tries to explain how I can use all-thread and a pipe and a nut, but he can't talk very well due to a stroke; and listening to him I'm getting frustrated because I've already used my idea and it works, and felt like he's slowing me down. And it's pouring rain.
I finally agree to try his idea. I weld it up like he tells me, then turn the track over, and I'm still not sure how it works.He also says we should cut my log dogs off, but I said, "No, I think I want to test out your idea before I change anything. I still can't see how it'll work."
 At this point, he's not happy, and I'm not happy. I decide to go get a log to test the set up I have, and so I go out in the pouring rain over to my property and pick up a 10' log tip I cut off one of my logs a few weeks ago. I'm so frustrated, I don't even care about carrying it back over to his place in the rain and mud. I bring it back to his garage and put it on the track, but it's got a big knot sticking out. I get even more frustrated because it takes both of us to set the log with his threaded rod - this should be a one man operation. He had me take the sharpened bolts out of my logs (because I don't need them, he says), so now my dogs are flopping around while trying to hold the log in place. Anyway, we couldn't cut the log because of the knot and I didn't have a chainsaw to cut it off, so I leave that night.
I was so frustrated I'm thinking about things like buying my own welder. I call my mechanic and tell him what's going on, and ask, "What should I do?"
He says, "Can you do both ideas? Meaning, weld up like he says, but then just not use it if it doesn't work?"
I hadn't thought of that. "That's a great idea, but I wonder how he'll react."
Next morning is Friday. After work, I drive out there, dreading what's coming. I get the saw, cut off the knot, and fire up the sawmill. As I predicted, without any screws in the log from my dogs, the mill throws the log off the track.
I put the screws back in the log dogs, and it works a lot better. But I also notice that his threaded arm helps set the log at a right angle on the second cut - not what he had in mind, but I like it.
The whole time, I'm waiting for him to come out and supervise, but he doesn't. I finally have a sample cut - it's a 2x2. I don't think it's working like he wants, but it is helping keep the log square. I go to his door- he comes out and says he's not feeling well today (he's in his 80's). He gives his approval on the log, and I feel a lot better about everything. I think I overreacted the other night- none of the bad feelings are there. I weld up the rest of my dogs that night. Big snag turns out to be nothing.
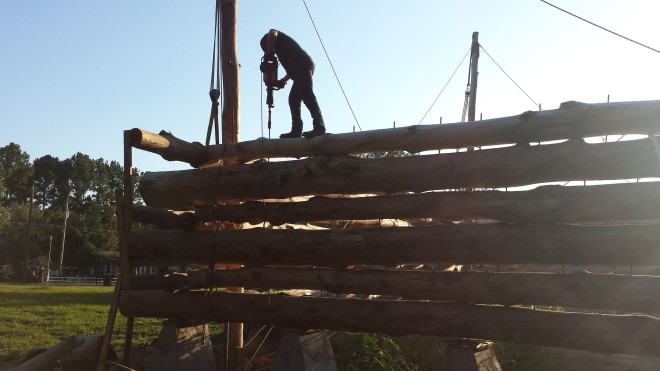
Saturday, I get there around 6:00 AM. I finish welding up everything, then I had to go take my daughter to an activity.
Finishing up
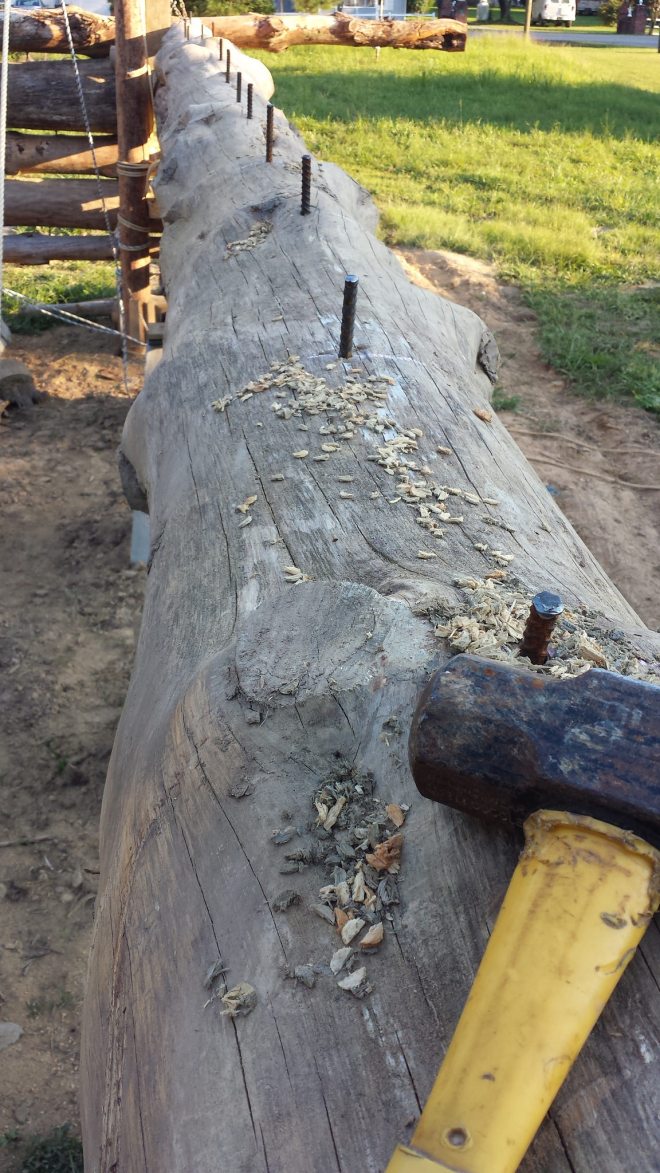
Monday, I laid the whole thing out on the ground, and clamped the pieces together to drill holes to connect all the tracks together and set the whole thing up. I cut 4 out of 8 holes, and on #5, the drill bit broke. Meanwhile, the neighbor comes over to supervise. He spends a long time looking at my log dogs, not saying anything. I'm nervous- I'm sure he notices I made 3 more of my style of log dogs. Finally he says, "I don't think your set up is going to work, but I'll keep my mouth shut, and we'll see what happens." Without a drill bit, I can't finish, and it's getting dark, so I gave up and put everything away.Test run
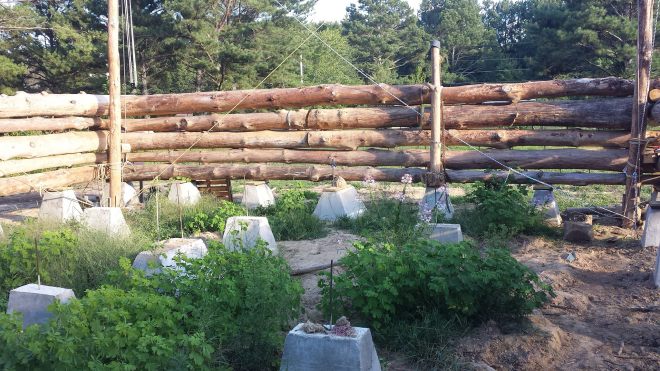
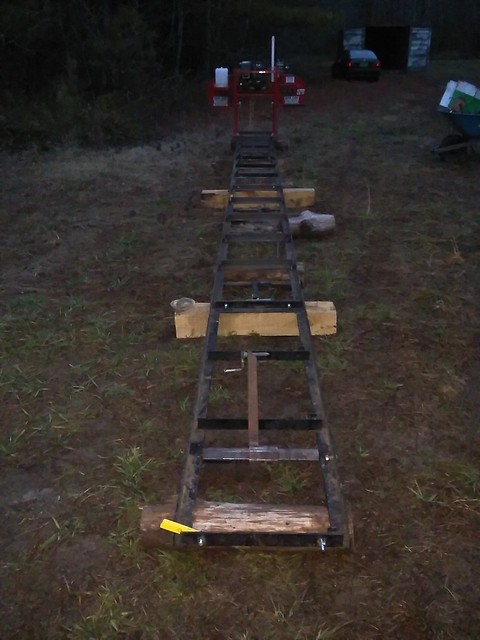 | |
| set up |
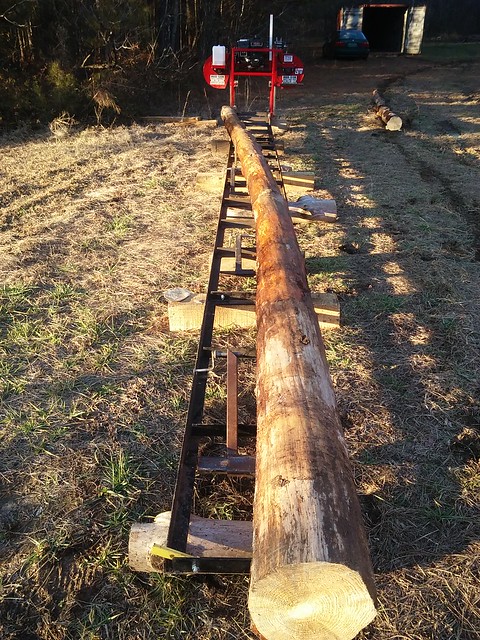
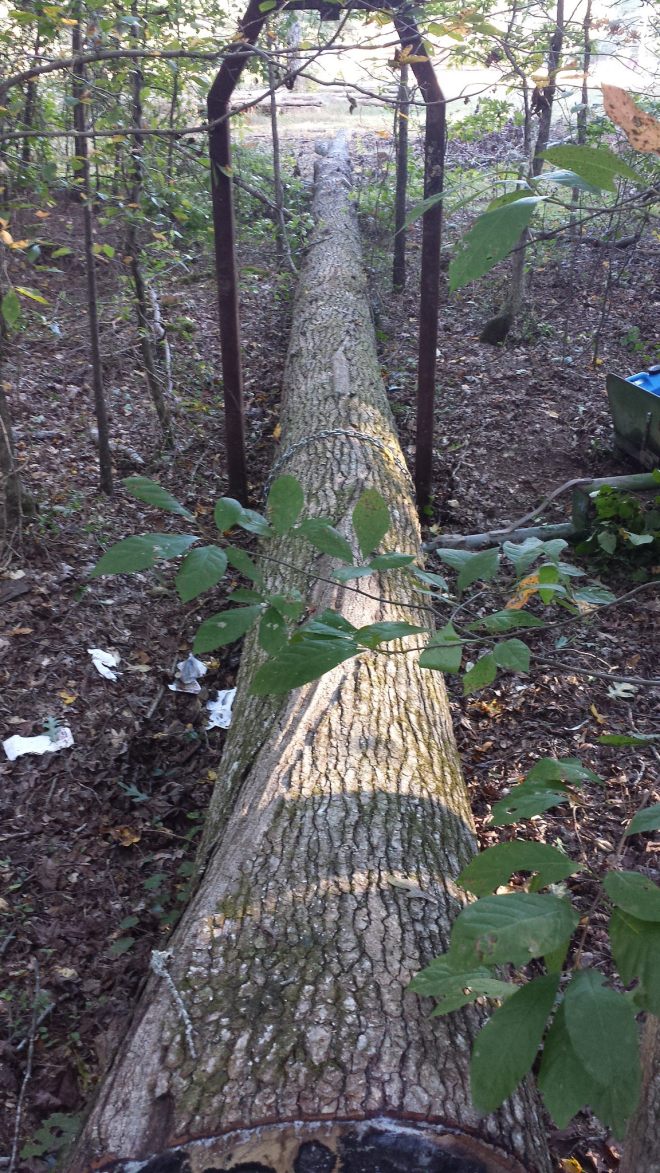
Thursday- I found a log I'm not going to use for the house, but it was crooked about 20 feet into it, so I cut it at 20 feet, and made a 7"x7" by 20' beam:
 |
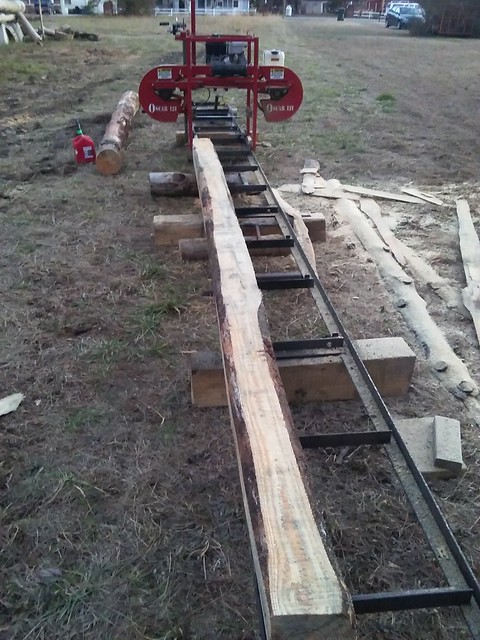 |
| too crooked | That's better (but shorter- darn) |
Super excited now. I need to cut 32 of them. But I talked to my engineer and I'm waiting for a response. The plans call for 4x10 beams, but is a 7x7 equivalent? None of the engineering span tables I can find include tables for 26' rafters. I could probably dig out my calculus and figure out the moment of inertia, blah, blah, blah, but I think he'll have the right info for me.


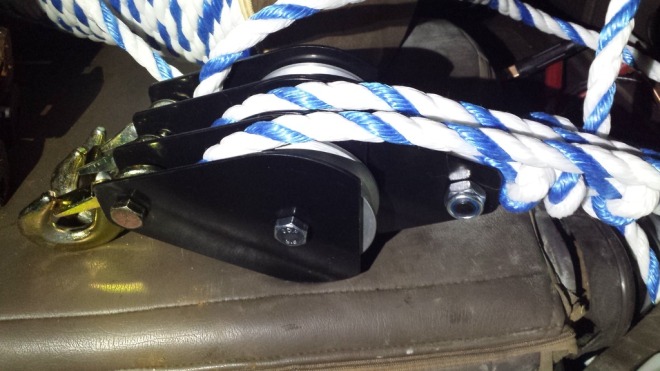
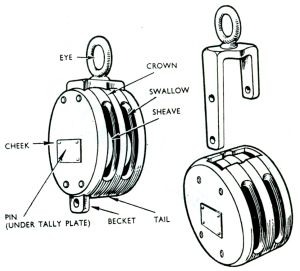 . I didn’t have one, so I took two extra plates from a single pulley, and put a bolt through them.